How to know if your baby's car seat is installed correctly

If you need to take an essential journey but haven't yet installed your child's car seat, help is at hand! Danielle Beh of car seat education firm SitTight, has the lowdown on securely installing child restraints in vehicles.
Whenever you install or use a child vehicle restraint, keep this mantra in mind: “The safest child restraint is the one that is installed securely.” Because it doesn’t matter how much you spend on your child restraint, or how many safety features it has, if it’s not installed securely it’s not the safest option for your baby. Under normal conditions, the best way to ensure you’re using your car seat safely is by visiting a child restraint technician (CRT) to have it installed.
However, under the Ministry of Health COVID-19 guidelines for the past few weeks, the physical service that CRTs provide has been deemed not essential, meaning you couldn't visit a CRT to have them install your car seat professionally. These restrictions are easing but until things have settled down, you may find it difficult to access the full services of child restraint technicians. This doesn’t need to be a concern. I’ve compiled some tips to guide you through the process of installing your car seat and checking its installation. And at the end of the article, are some links showing where to access online help and support.
Keep in mind, you can still call a CRT anywhere in the country and they’ll talk you through any questions you have.
Click here to find a CRT near you.
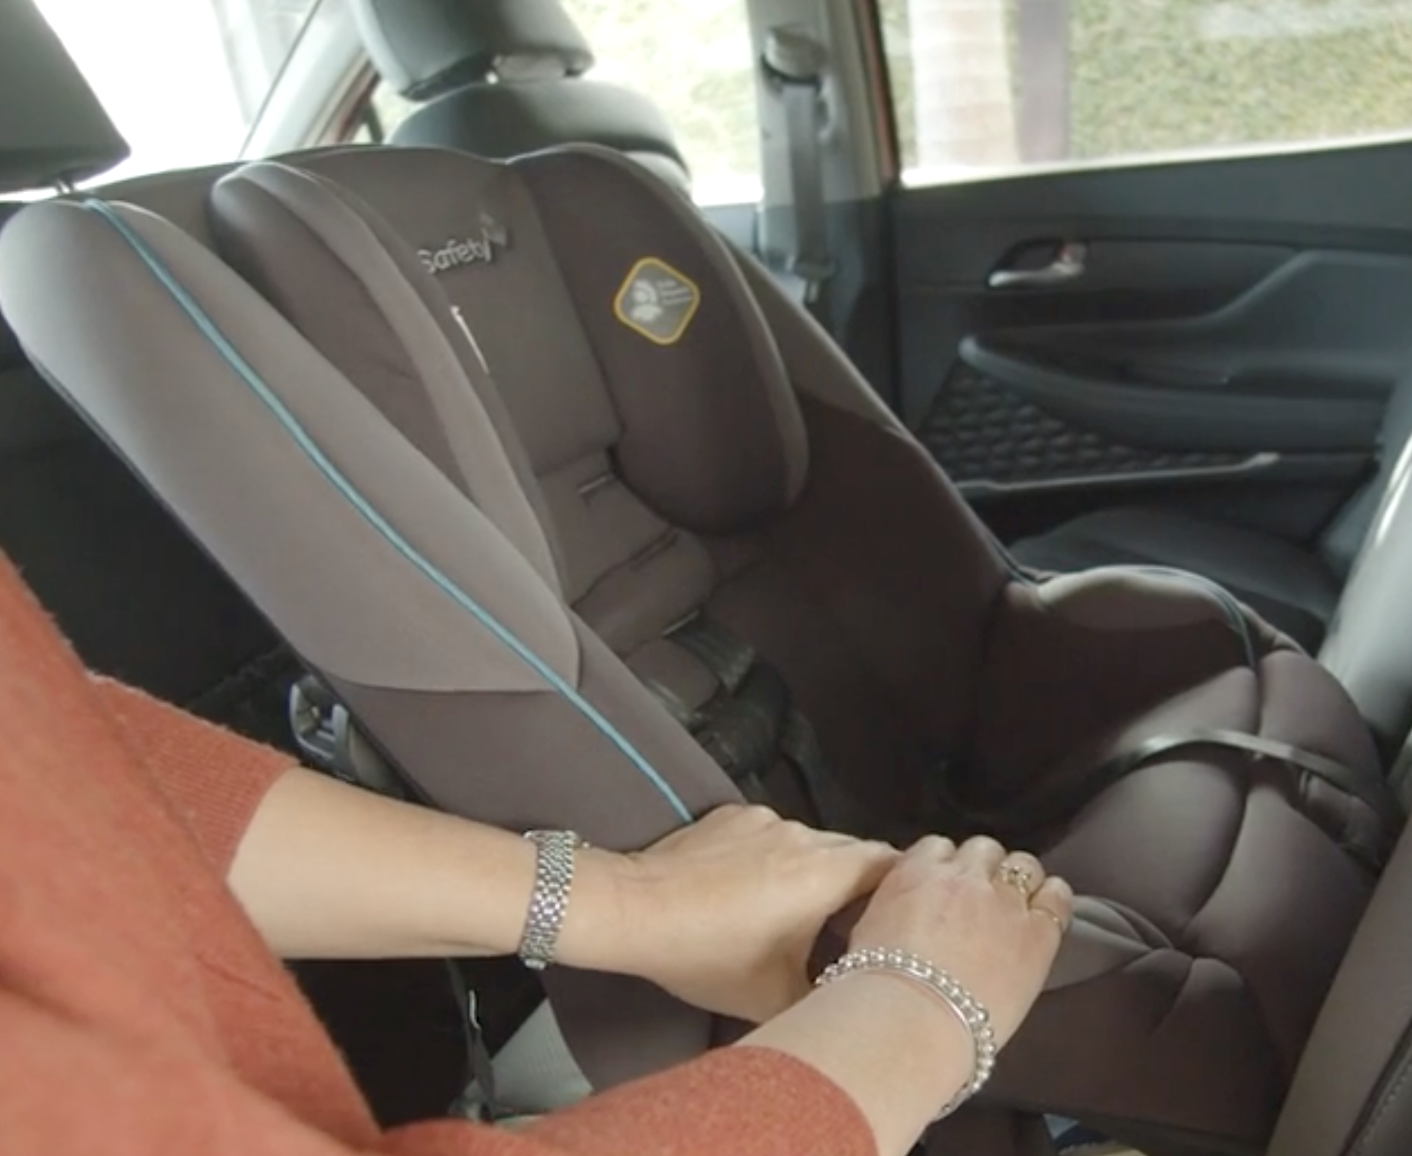
The safest child restraint is the one that is installed securely
Let’s start with understanding how to check if your seat is installed securely. When we use the word 'secure' in relation to car seats, we’re being quite specific. 'Secure' means less than 2.5cm of movement. In other words, when your car seat is installed, you must not be able to move it more than 2.5cm. This is the general rule, but do always check your car seat’s instruction manual to be sure how much movement is allowed for your particular child restraint.
It’s very easy to check if your car seat is installed securely enough:
1. Stand in the vehicle’s open doorway, on the side where the child restraint has been installed.
2. Hold the child restraint near the belt path that is being used to install it. For example, if it has been installed using the seat belt in a forward-facing position then you would hold the restraint near its forward-facing seat belt path.
3. From this position, try to pull the restraint from side to side. If it moves more than 2.5cm, then you’ll know it's not installed securely enough. It’s that simple. It can take a bit of effort to remove the last of the movement and if you’re having trouble with this, make contact with a CRT who will be able to talk you through this over the phone.
Installation instructions & tips
Starting point – read your instruction manual! Before installing a child restraint, the most important thing to do is read its instruction manual. To comply with the law you must be using your child restraint in line with its manufacturer’s instructions. The instruction manual will give you the installation methods to follow as well as all the information you need to set the restraint up to fit your child correctly.

Top tether use
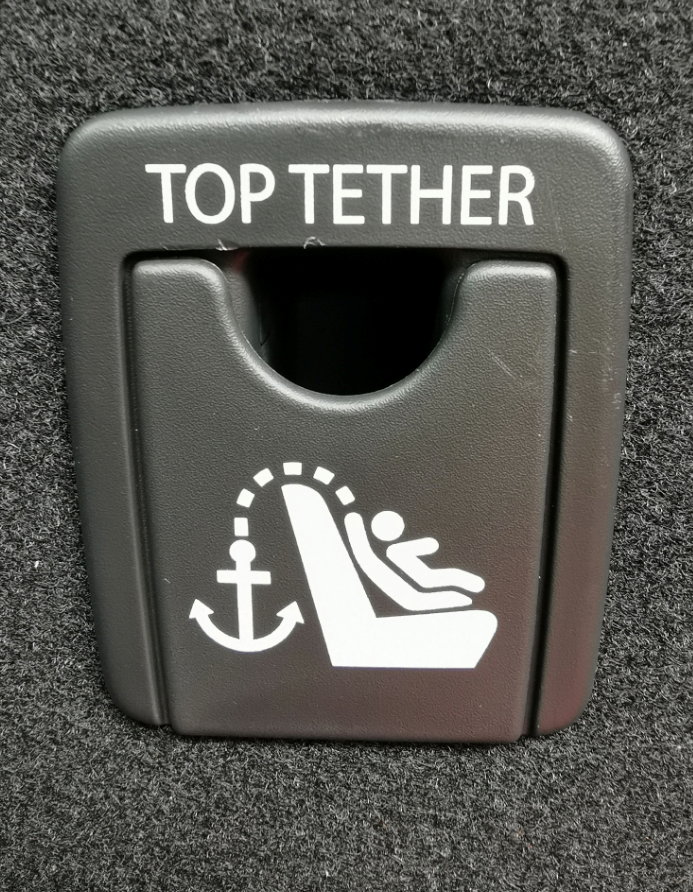
The need to use a top tether varies between child restraints. This makes the top tether the perfect example of when it is essential that the information found in the instruction manual is followed. If a child restraint has a top tether, the assumption is often made that it must be used, but that's not always the case. Even if a top tether is on a car seat, it may not always be required.
Read the instructions regarding the top tether to establish exactly when it must be used. These instructions are always easy to find in a child restraint manual. They’ll be under a section titled, Top Tether Use. Find this, and you’re on your way!
Installation methods
There are two methods of installing a child restraint. The first is by using the vehicle seat belt and the second is by using connectors on the child restraint that attach to lower anchor bars in the vehicle. This method is either called Isofix or LATCH and can only be used if the lower anchor bars are present in the vehicle and the child restraint has the connectors required to attach it to the bars.
Seatbelt installation - preparation
Identify your belt type
Before using your vehicle belt to install a restraint, it’s important to identify which type of seat belt your vehicle has. The majority of vehicles have retractable belts. You’ll be familiar with these – they move freely in and out, but lock in a sudden movement. There are, in fact, different types of these retractable belts and the type of belt you have will affect the end result of your installation, specifically, whether the restraint will stay secure or not. This is why it's important to know the type of belt you’re installing your restraint with.
There’s no way of knowing by sight which type of retractable belt your vehicle has. If you are a two-car family, you may be unaware that your two cars each have a different type of retractable belt. It's possible to identify which type of retractable belt you have only by pulling the belt out as far as it will go, then letting it retract through your fingers while listening for a clicking noise.
If you can hear the belt clicking as it retracts then you have an ‘automatic locking retractor’ or ALR. If the belt is silent as it retracts, then you have an ‘emergency locking retractor’ or ELR. The vital difference between these two belts is the ALR (belt that clicks) locks in a sudden movement and stays locked, it will not loosen off. When used to install a child restraint, because the ALR belt does not loosen off, the restraint stays secure.
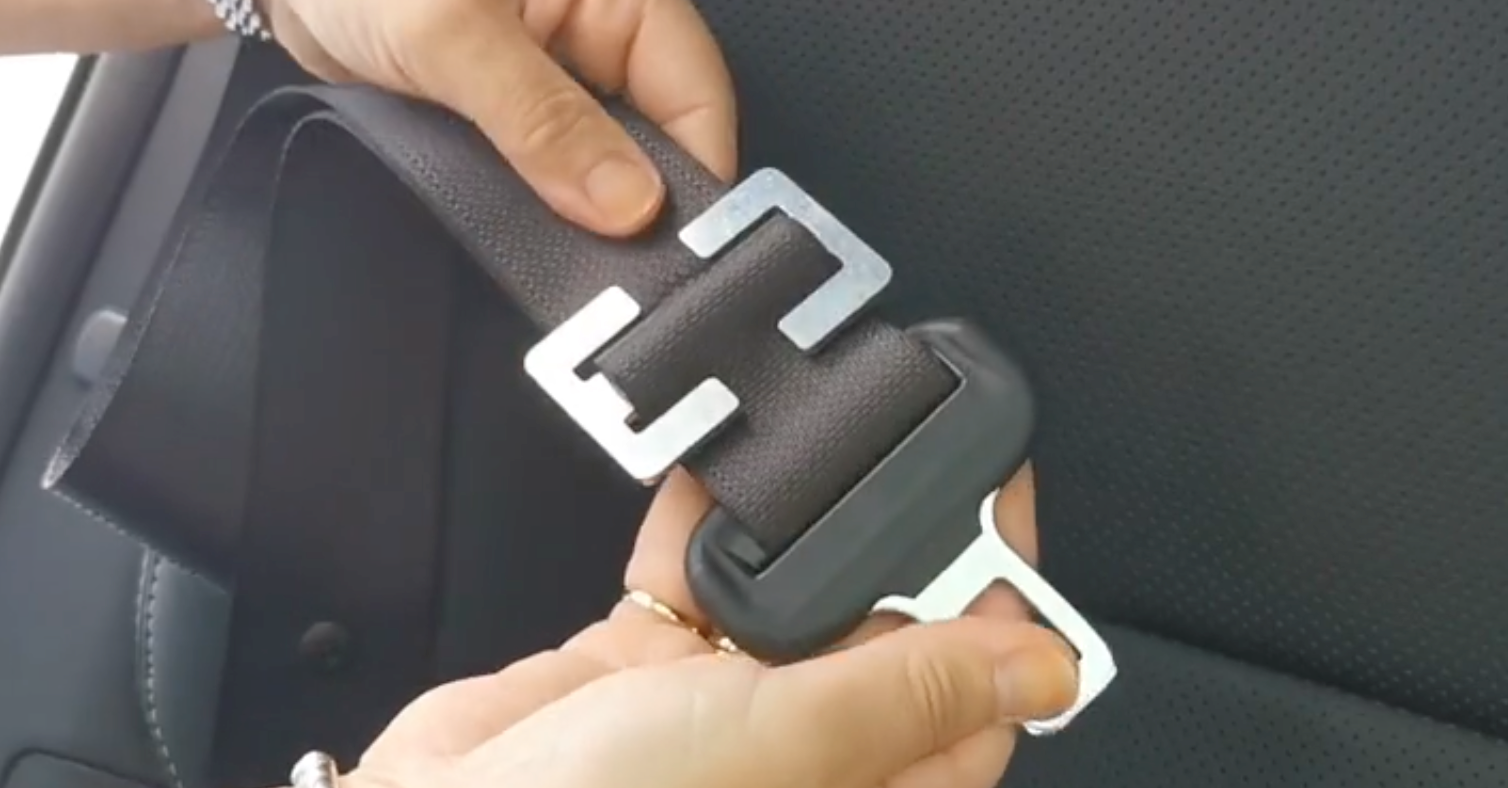
However, the ELR (silent belt) locks in a sudden movement, but does not stay locked so will immediately move freely in and out. When used to install a child restraint, the ELR belt will not keep the restraint secure. It must be ‘locked’ using another method, such as a locking clip.
Locking clips
Locking clips are accessories for child restraints that are used to ‘lock’ an ELR belt. This ensures the seat belt doesn’t lengthen during travel. If the belt was free to lengthen, it would result in the restraint being loose and unsafe. Some child restraints come with a locking device. This could be built into the restraint itself or it may be an additional part. In either situation, follow the instructions for using the locking device correctly. These will be explained in the child restraint’s manual.
If you’re installing your child restraint with an ELR belt, but don’t have a locking device, it is possible to buy one separately. And if you're still hoping to avoid too much interaction outside your home bubble, you can buy them online and have them delivered.
Seatbelt installation - method
When installing your child restraint using the vehicle’s seat belt, you'll need to do several things: first, pass the belt through a seat belt path in the restraint; then pull the belt very tight ensuring you have as much tension on the belt as possible; and finally lock the belt in position, using the locking method appropriate for your seatbelt type, to ensure the restraint is secure and cannot move 2.5cm.
There are various belt path designs, your restraint will have its own belt path to follow. This may be different to other restraints on the market. Once again, the instruction manual will specify what is correct for your child restraint, so follow this and you’ll be on the right track!
Seatbelt installation – final check
Once you’ve followed your instruction manual and installed your car seat, remember to do the 2.5cm check. If you are having trouble getting the restraint secure enough and need some advice, find a CRT and give them a call.
Lower anchor installation (Isofix or LATCH) – preparation
Identify lower anchor connector type
If you plan to use this method of installation, it’s helpful to first identify the types of connectors on your child restraint. LATCH connectors will be attached to the child restraint on webbing straps – like the material used for seatbelts. Isofix connectors are rigid metal bars. Sometimes these are fixed in place and other times they move up and down on a hinge.
Lower anchor installation (Isofix or LATCH) – method
Regardless of the type of connector you have, these will need to be hooked on to the lower anchors in your vehicle. If your vehicle has lower anchor bars, these are positioned in your vehicle seat, between where the seat back meets the seat base.
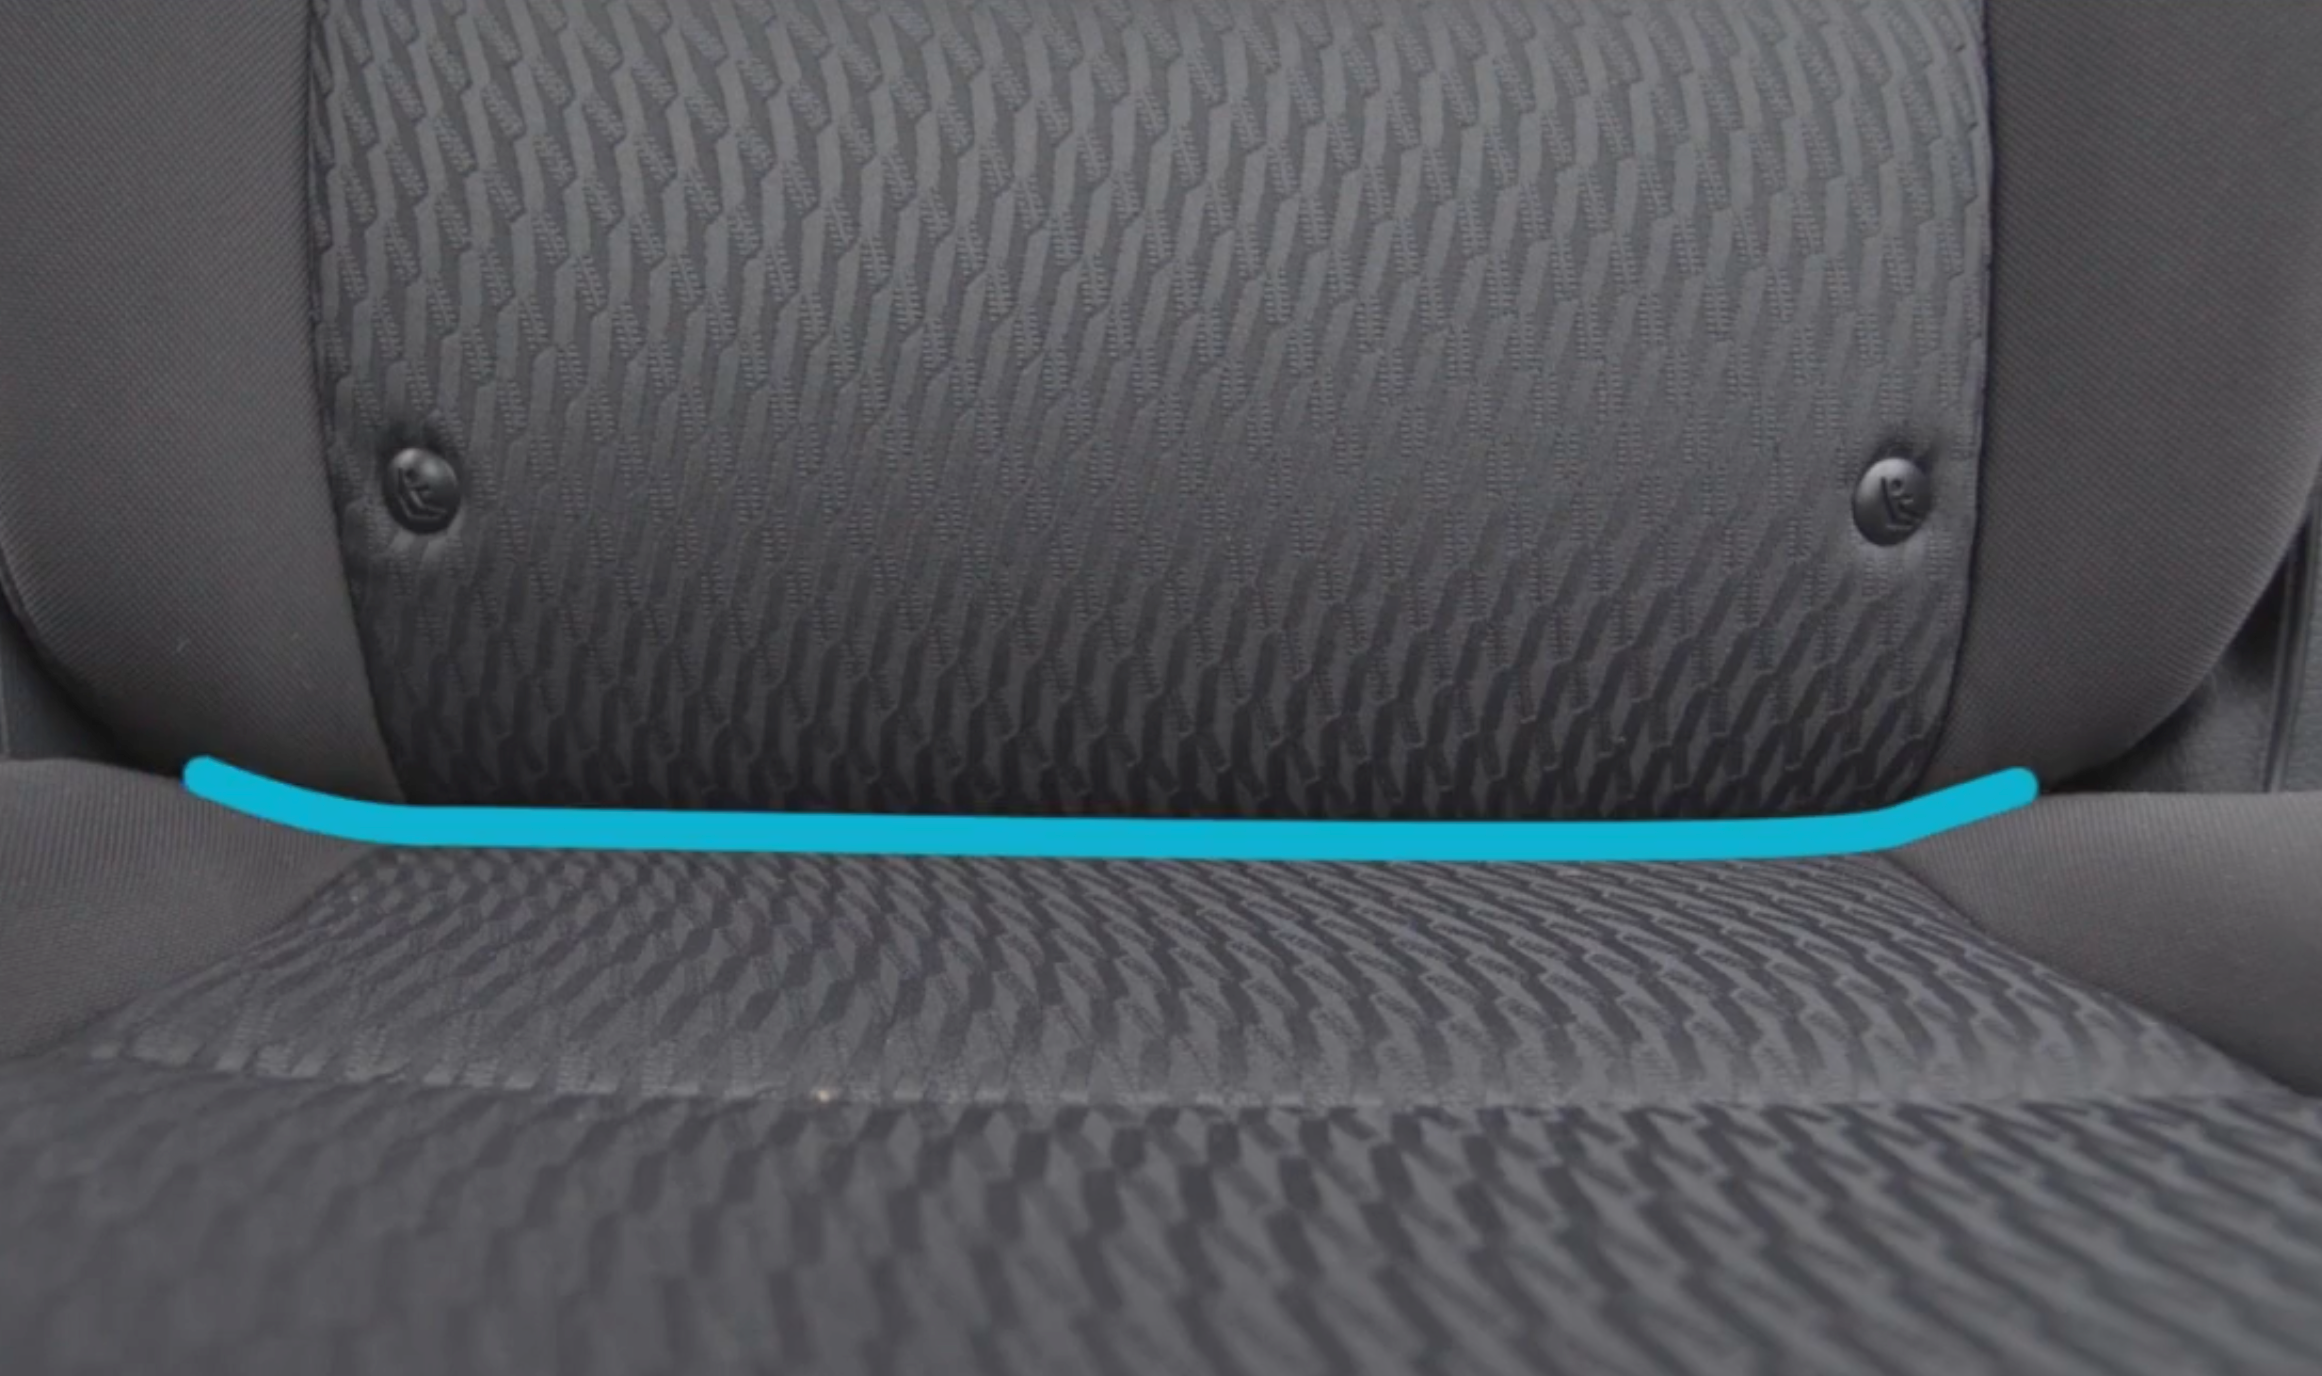
The difference between the two types of connectors is that the LATCH Connectors hook over or onto the lower anchor bars. Once connected, the webbing strap then needs to be tightened to ensure the restraint is secure. Without doing this, the restraint is loose and therefore unsafe. There are various ways of tightening this strap – always check your restraint’s instruction manual to be sure you’re following the instructions specific to your restraint.
Meanwhile the Isofix Connectors push against and hook onto the lower anchor bars. This may be all that is needed to secure the restraint. However, occasionally restraints also need to be pushed against the vehicle seat or adjusted after they are connected to the lower anchors, to ensure they are firm. As always, check your seat’s instruction manual for instructions specific to your restraint.
Lower anchor installation (Isofix or LATCH) – final check
Once you’ve installed your car seat using the lower anchors, remember to do the 2.5cm check. If you have doubts that you have installed the restraint securely enough, seek out your local CRT for advice.
Lower anchor installation (Isofix or LATCH) - important information
There are two important pieces of information you need to know when installing child restraints using the lower anchors:
1 The Isofix and LATCH systems have a weight limit. This weight limit can vary slightly between restraints so always check your restraint’s manual for the correct information. Once the child using the restraint reaches the system’s weight limit, the seat can no longer be installed using the lower anchors. At this point, if it also has the option of being installed using a seat belt, you would re-install the restraint using the vehicle belt.
2 It’s common for people to question if their restraint can be installed using both the seat belt and the lower anchors at the same time. In almost all cases the answer to this is ‘No’. A child restraint cannot be installed using both methods unless its instruction manual states that it can, and this is very rare. Installing a child restraint can seem overwhelming, but it doesn’t have to. Follow your instruction manual, check that it’s secure and if you need help, call a CRT.
Useful links
Click here to find a CRT This will take you to the NZTA’s list of CRTs nationwide.
SitTight online educational courses and resources for correct child restraint use
Danielle Beh is a child restraint technician (CRT), a trainer/assessor of CRTS and is co-chair of the NZTA’s national child restraint expert reference group. Her experience working with child restraints spans a number of years in the public and private sectors. Danielle writes and produces online educational resources in correct and safe child restraint use with her company, SitTight Child Restraint Education, and works with a variety of organisations nationwide, to promote and educate on improvements in child passenger safety. Contact her at danielle@sittight.co.nz for further advice or information.

