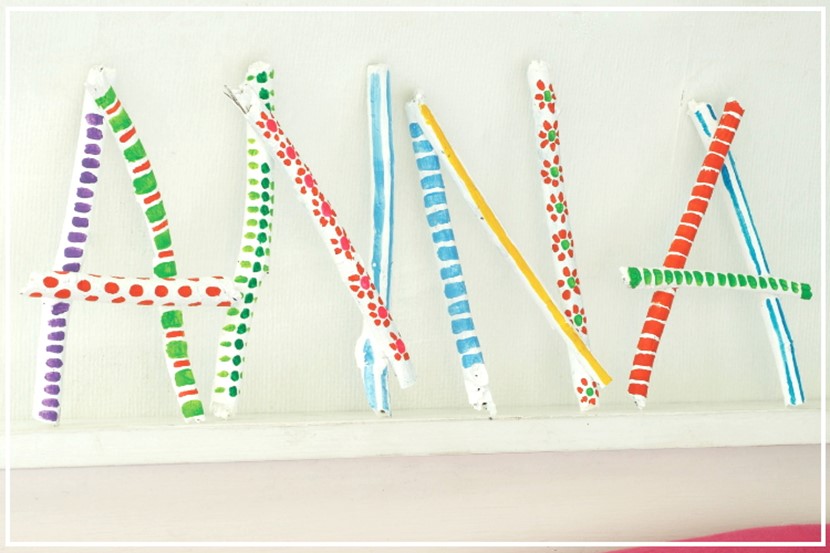
Fun painted twig letters

Let the kids go crazy with paint and patterns to make decorative letters from Clare Youngs' Find It, Make It craft book.
These brightly coloured letters are a great way to personalise your own space. They would look brilliant on your bedroom door or above the bed, or make one for your best friend. They are also a fun way to decorate a present - wrap it in bright tissue paper and tie the recipient's initial to the parcel with a pretty ribbon.
You will need:
🌳 Sticks
🌳 White paint
🌳 Paintbrushes
🌳 Paint in assorted bright colours
🌳 Glue
How to make:
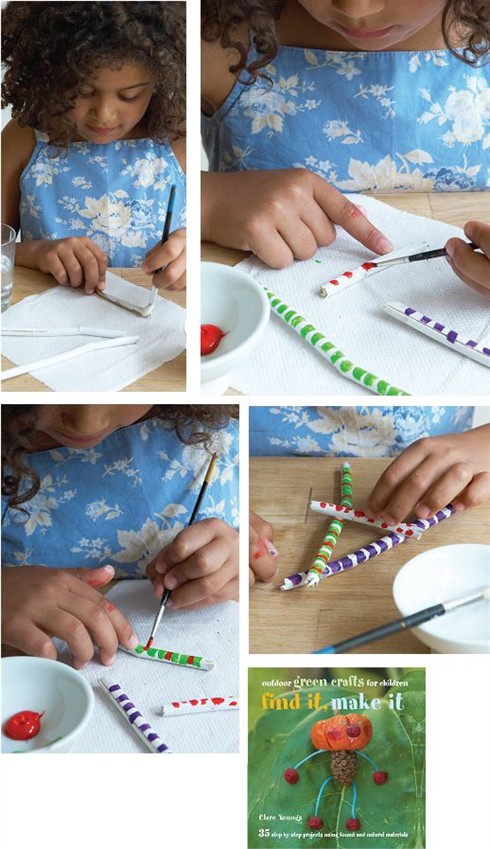
1. Gather together some sticks of similar thicknesses. Break up the sticks to make different lengths and play around with them until you have arranged them in letter shapes. Paint the sticks white. You may need a couple of coats to get a good coverage. Try to keep the different sticks that belong to one letter together, or you may lose track of which stick belongs to which letter!
2. When the sticks are dry, paint a series of stripes down some sticks in a different colour. Let dry.
3. Decorate the sticks further with alternate stripes in a different colour or experiment with another pattern - stars, dots, flowers - the brighter the better!
4. Glue the sticks together to form the letters. Wait until the glue has completely dried before displaying them on the wall.
Words of wisdom
To make letters that are curved, like a C or a P, form the twigs into squares and triangles. For example, a "C" would be formed from three twigs, equal in length, stuck together to form three sides of a square. A "P" would be made with one twig for the upright section and two small twigs made into a triangle and placed toward the top of the upright twig.

| Extract from Find It, Make It by Clare Youngs. Photographs by Claire Richardson, RRP$44.99 (hardback). Published by CICO Books. Distributed by Southern Publishers Group. |

