DIY: storage fit for fun using wooden crates
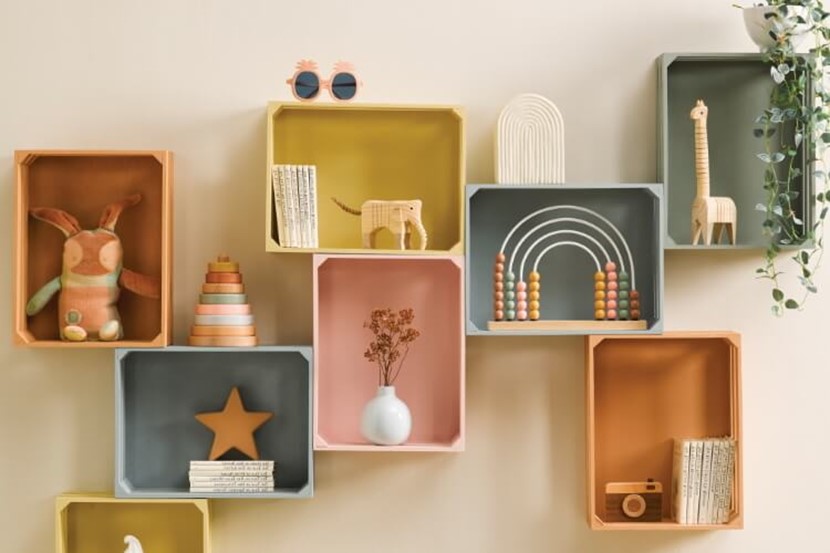
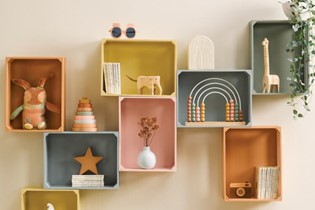
Create a colourful kids' storage wall using simple wooden crates
You will need
- 8 wooden crates (we got ours from Kmart)
- 5 Resene testpots of your desired colours
- Paint brush
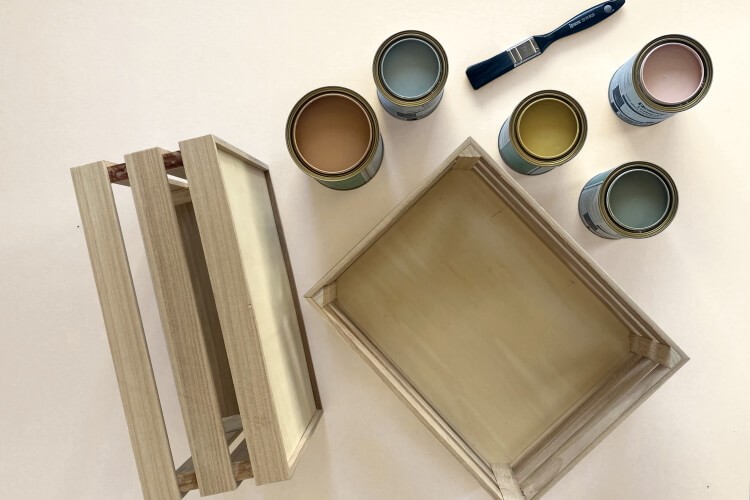
Step 1
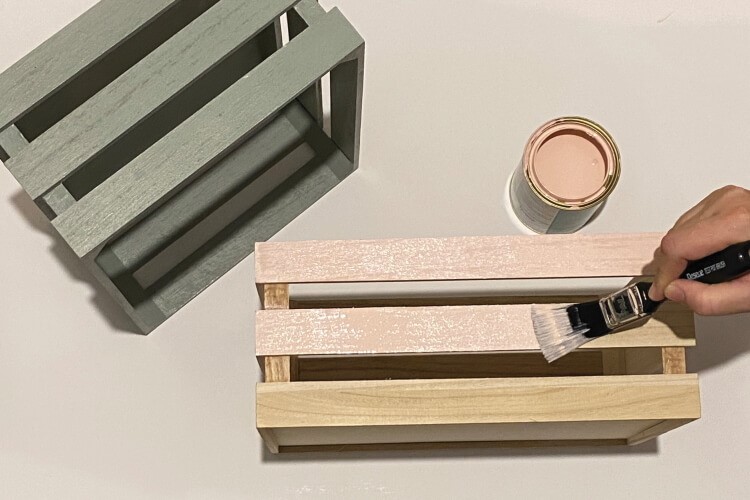
Paint each crate inside and out in your desired colour. You will need two or three coats.
Step 2
Once the crates are dry, lay them on the floor in the layout you want to hang on the wall. Keep moving them around until you are happy with the layout.
Tip: Take a photo or place A4 sheets of paper underneath each crate so you have a visual reminder of your layout to refer to while hanging.
Step 3
You can either screw the crates to the wall or, if you’re using them as display shelves with very light things inside, you could use 3M Strips.
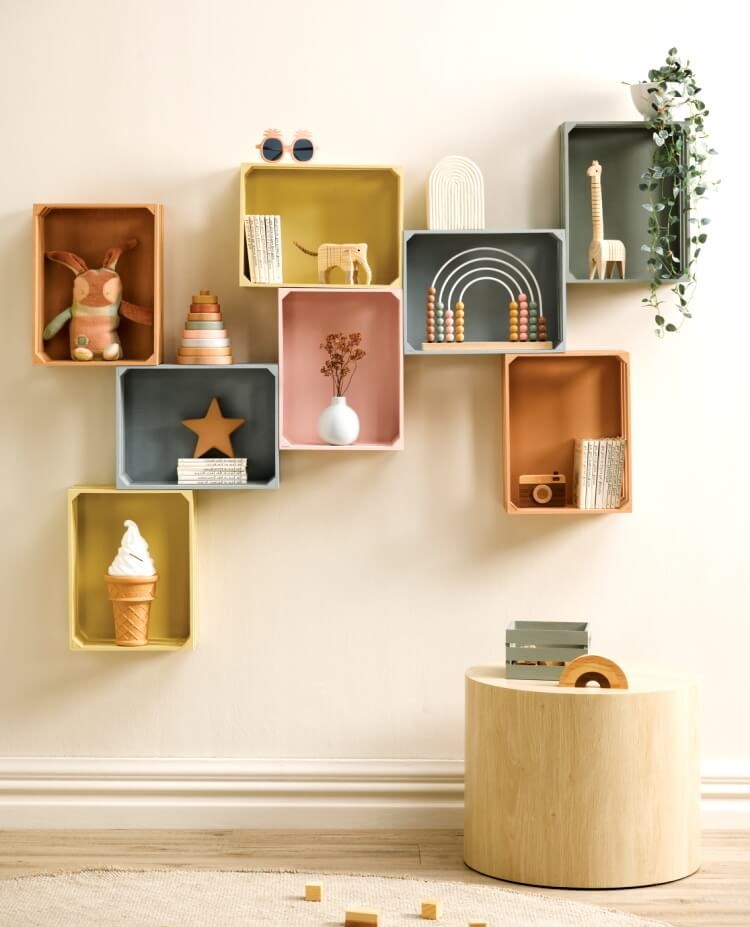
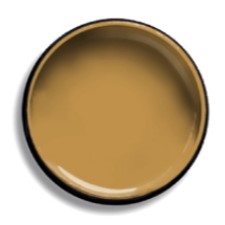
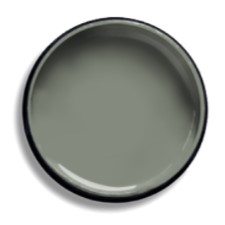
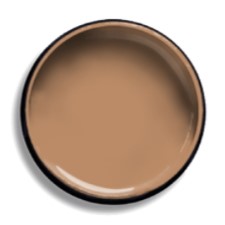
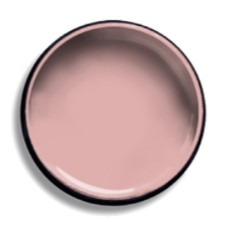
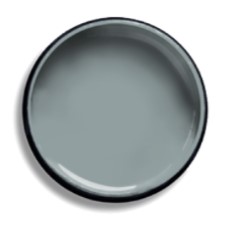
Wall painted in Resene Quarter Fossil. Large crates painted in Resene Ravine (green), Resene Kalgoorie Sands (caramel brown), Resene Bounty (blue), Resene Paper Doll (pink) and Resene Tussock (yellow). Small crate on stool painted in Resene Ravine.
Freedom Furniture Foxton Floor Rug in oat, freedomfurniture.co.nz; Kmart Round side table part of a Set of 2 Oak Look Tables and small wooden crate (on table), kmart.co.nz; Adairs Kids Abacus and Stacking Tower, adairs.co.nz. All other props: stylist’s own.
Colours we used:
 |
 |
||
|
|
 |
 |
||
|
|
||
|
|||
Visit your local Resene ColorShop, phone 0800 RESENE (737 363) or :
| SHOP ONLINE HERE |

AS FEATURED IN ISSUE 55 OF OHbaby! MAGAZINE. CHECK OUT OTHER ARTICLES IN THIS ISSUE BELOW
