Dinner winner! Make a meal planner board
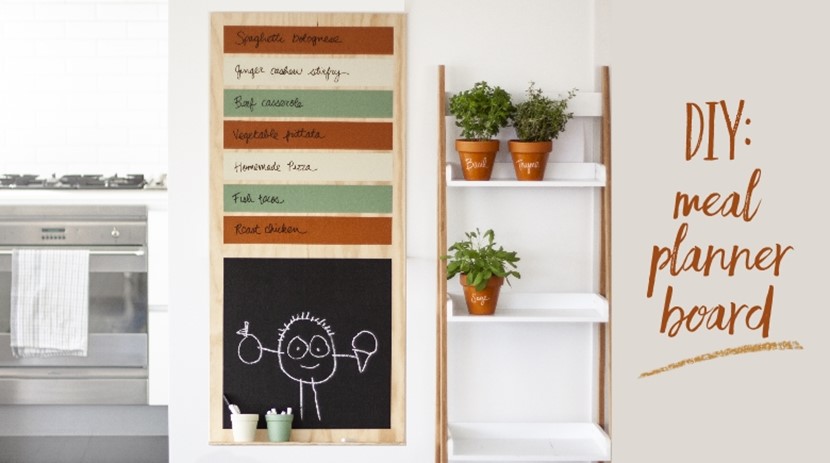
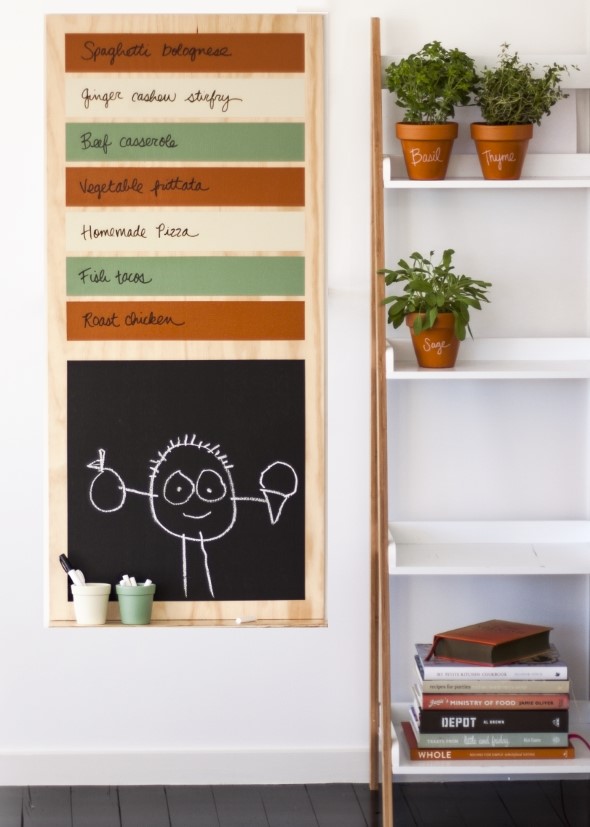
Plan your attack for dinner time and conquer the witching-hour with this functional and fun meal planner board.
You will need:
🔨 1200 x 1200 x 7mm untreated plywood, cut in half to 600 x 1200, then 110mm cut off the bottom for the shelf (ask someone at the hardware store to do the cutting!)
🔨 Measuring tape or ruler
🔨 Masking tape
🔨 Baking paper
🔨 15mm panel pins (tiny nails) and hammer
🔨 Resene testpots in your choice of colours
🔨 Resene Write-on Wall Paint (creates a clear wipeable ‘whiteboard’ finish)
🔨 Resene Blackboard Paint
🔨 Small 100mm paint roller with sleeves
🔨 PAL #4 Microfibre Blend 150mm roller sleeve with 150mm paint roller
🔨 150mm paint roller tray
Method:
1. Once cut, you should have a piece of plywood measuring 600mm wide by 1090mm high, and a 600mm x 110mm piece for the little shelf.
2. Using good quality masking tape (we used Sellotape Washi Advance masking tape from a Resene ColorShop to achieve near-perfect edges), mask off a border all the way around the large plywood panel. Ours is 30mm wide.
3. Divide the top half of the panel into seven strips, one for each day (ours are 70mm high with 10mm gaps). Underneath the seventh strip, mask off another 30mm to create an even border for the top of the blackboard area.
4. Using the small roller, paint the strips with your chosen colours. Apply 2-3 coats.
5. Once the strips are finished and dry, you are now ready to paint the blackboard area. Firstly though, roll a ‘base coat’ using left-over paint from a testpot to create a seal on the plywood. Once dry, apply two coats of Resene Blackboard Paint following the directions on the tin for application and drying time. Allow the second coat to dry, then carefully remove all the masking tape.
6. To protect the blackboard area, cover with a piece of baking paper and firmly secure in place with masking tape, following as close as possible to the inside edge of the blackboard.
7. Following the instructions provided in the box (we recommend reading this in advance), apply Resene Write-on Wall Paint to both the large panel and the shelf using the recommended PAL #4 roller sleeve. Two coats are required, and the tape around the blackboard needs to be removed while the first coat is still wet, and reapplied once dry before finishing off with the second coat. Remove tape and baking paper again while the second coat is still wet, and discard.
8. With the meal planner board turned upside down, line up the edge with the shelf and nail on through the bottom. The thin plywood probably would've bowed slightly so this helps to straighten the bottom out again.
9. Leave the board to cure for one week before writing on the coating with whiteboard markers or liquid chalk.
|
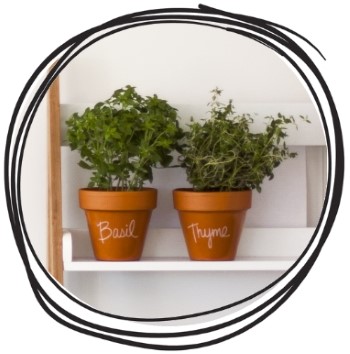
Create these cute herb pots by coating them with Resene Write-on Wall Paint too! |
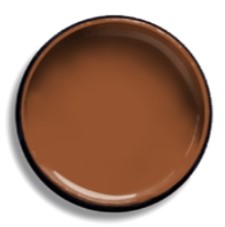
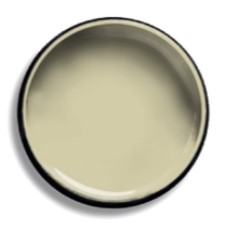
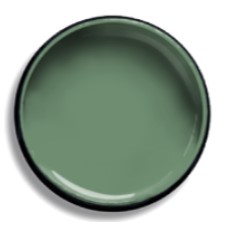
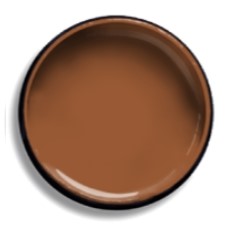
Colours we used:
 |
 |
||
|
|
||
 |
 |
||
|
|
Visit your local Resene ColorShop, phone 0800 RESENE (737 363) or :
| SHOP ONLINE HERE |

AS FEATURED IN ISSUE 42 OF OHbaby! MAGAZINE. CHECK OUT OTHER ARTICLES IN THIS ISSUE BELOW
