DIY: change table
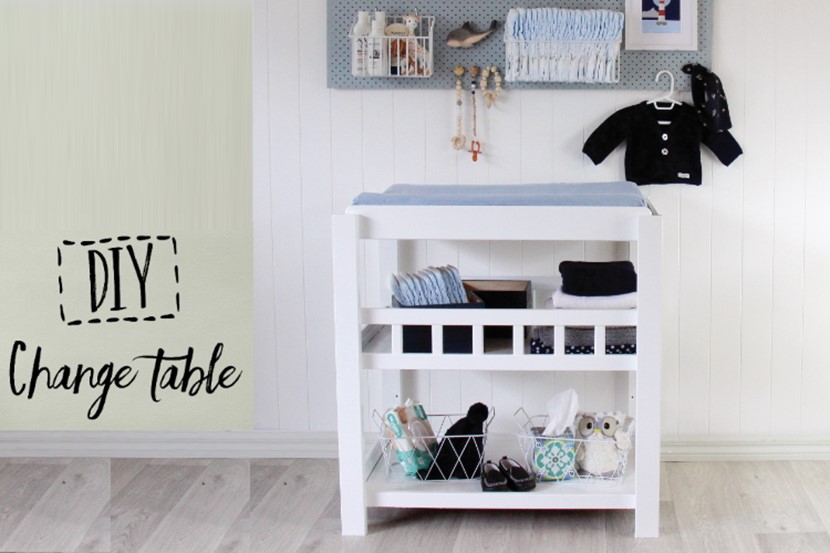
A well-designed changing station makes light work of nappy changes.
The key to efficient storage is to have what you need within easy reach and at no other time is this more important than when you have a wriggly baby in desperate need of a clean nappy. We gave a secondhand change table a fresh coat of Resene white paint and paired it with a pegboard to create a changing station that combines form and function.
You will need:
◼️ A wooden change table
◼️ Pegboard and hooks, plus screws and spacers or washers to attach pegboard to the wall.
◼️ Primer – we love Resene Waterborne Smooth Surface Sealer adhesion primer, which provides a paint-ready finish without the need for sanding.
◼️ Wooden storage boxes
◼️ Paintbrushes
◼️ A roller and smooth surface sleeves
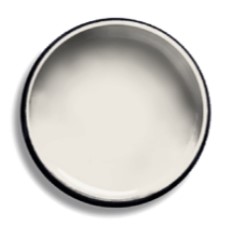
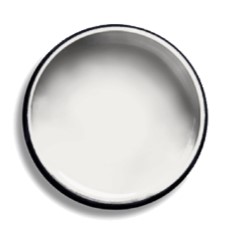
◼️ Resene Enamacryl gloss waterborne enamel paint in white and Resene testpots in colours of your choice.
Method:
1. Paint your change table with Resene Waterborne Smooth Surface Sealer.
2. Apply two coats of Resene Enamacryl to your change table, allowing at least two hours between coats. An enamel paint is a good choice for this part of the project as it provides a hardwearing and easy-to-clean surface, ideal for a change table. We used a brush for cutting in and hard-to-reach areas, and a small roller for fast coverage of the larger surfaces.
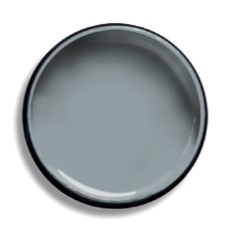
3. Next paint your pegboard using a roller. We applied two coats of Resene Karen Walker Powder Blue.
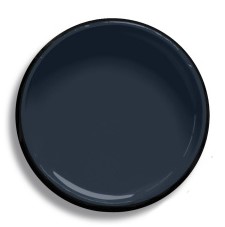
4. To add some finishing touches to the project, we painted our storage boxes with a testpot of Resene Dark Side.
Colours we used:
 |
 |
||
|
|
||
 |
 |
||
|
Resene Karen Walker Powder Blue
|
|
Visit your local Resene ColorShop, phone 0800 RESENE (737 363) or :
| SHOP ONLINE HERE |

AS FEATURED IN ISSUE 38 OF OHbaby! MAGAZINE. CHECK OUT OTHER ARTICLES IN THIS ISSUE BELOW
