DIY: funky magnetic alphabet
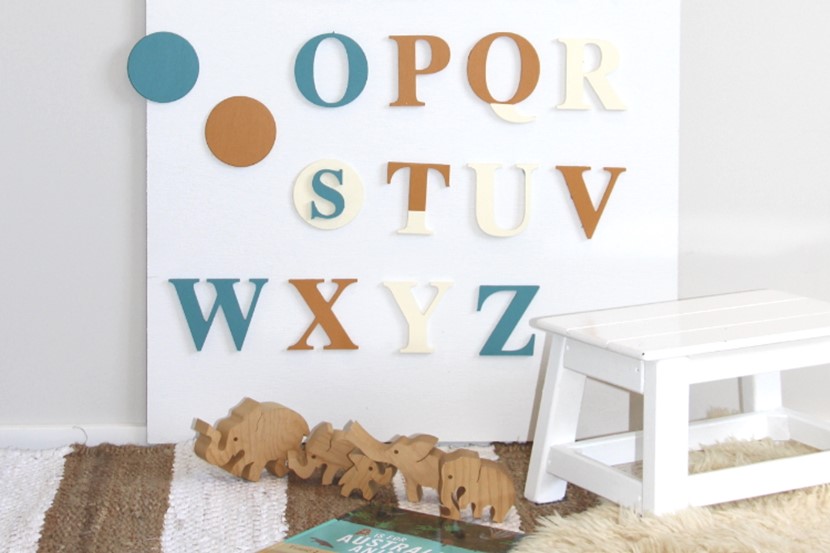
A magnetic alphabet to complement your décor spells out fun!
Introduce your child to the foundation of literacy with this magnetic alphabet project that can be created to suit any décor. Thanks to the magic of magnetic paint, little hands can move the letters around and learn the alphabet in style.
You will need:
💦 Wooden letters
💦 Good quality magnets and glue
💦 Board for background, or use your wall
💦 Paintbrushes
💦 Masking tape
💦 Primer
💦 Resene Magnetic Magic paint
💦 Resene testpots in your choice of colours.
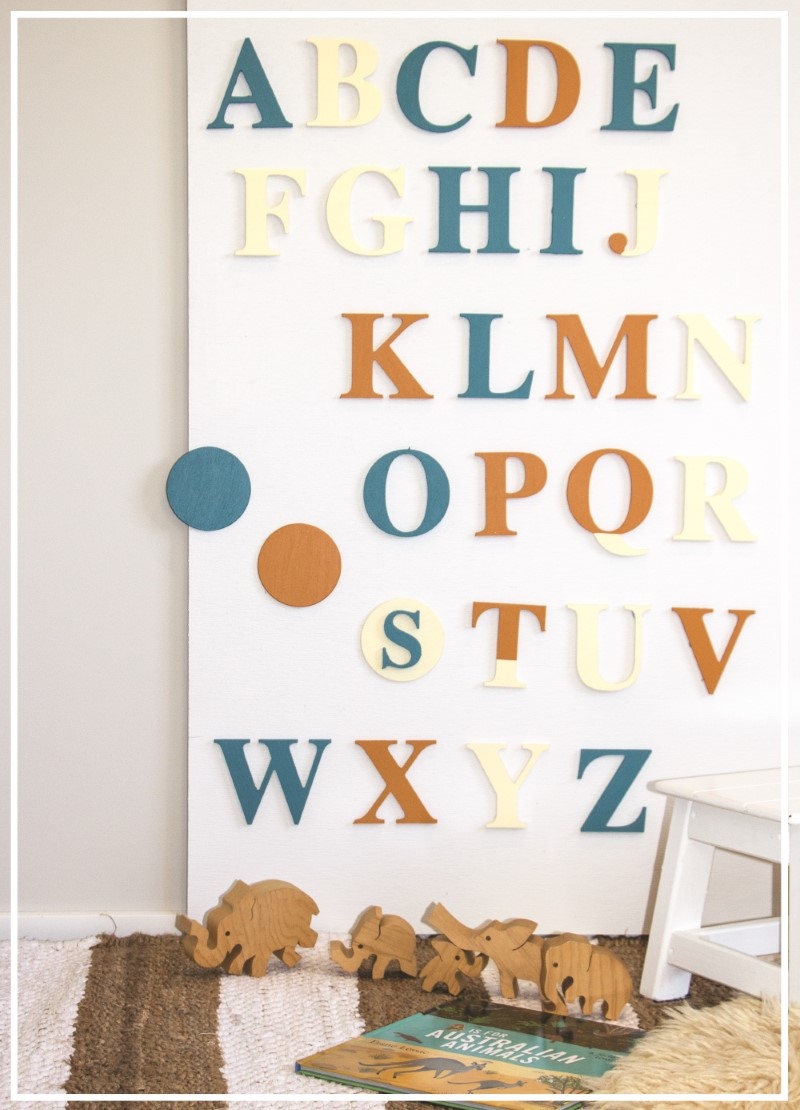
Method:
1. Paint your letters using Resene testpot colours of your choice. Two coats will provide the best coverage.
2. Use masking tape to create clean lines for any accent features you are painting. Once letters are dry, attach magnets to the back of each letter using glue.
3. Prepare and prime your board or the wall you intend to use as your magnetic area. Apply at least two coats of Resene Magnetic Magic. The smoother and thicker the application, the stronger the magnetic effect will be.
TIP: Once your magnetic paint is dry, test it with your magnets to ensure they adhere well before applying the topcoat.
4. Apply two coats of Resene SpaceCote Low Sheen in your choice of colour over the Resene Magnetic Magic paint. You could either choose to use the same as your normal wall colour or choose a contrasting colour to make it easy to see where the magnetic area is. Once dry, your magnetic wall or board is ready for your letters.

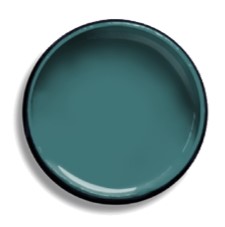
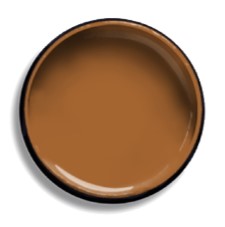
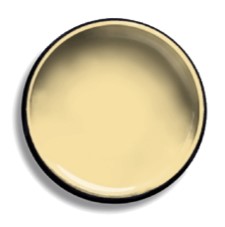
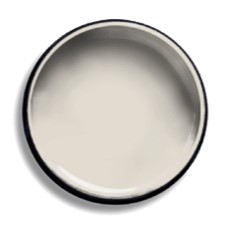
Colours we used:
 |
 |
||
|
|
||
 |
 |
||
|
|
Visit your local Resene ColorShop, phone 0800 RESENE (737 363) or :
| SHOP ONLINE HERE |

AS FEATURED IN ISSUE 39 OF OHbaby! MAGAZINE. CHECK OUT OTHER ARTICLES IN THIS ISSUE BELOW
