A cute little fairy tale birthday party
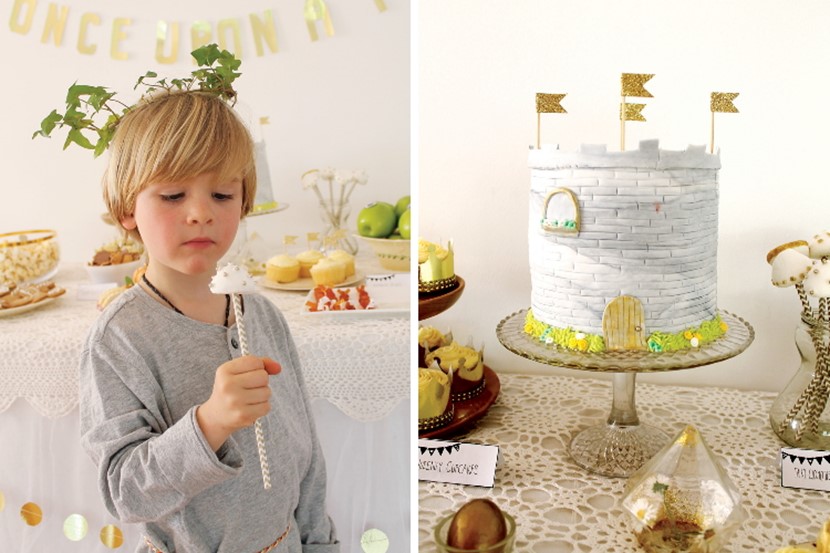
A child's birthday party is the perfect opportunity to sprinkle some magic and make-believe.
Stella Rutherford lives in the Far North with her young family. With plenty of time and space for imagination to thrive, Stella photographs and writes about adventures, crafts and parties – all with her distinct creative flair. Combining that creativity with her passion for whimsy, Stella designed a party that brings fairy tales to life and beckons children to step into the pages of once upon a time… Stella shared with OHbaby! the step-by-step process of creating this simply enchanting party.
WHERE DID THE IDEA FOR THIS PARTY THEME COME FROM?
Fairy tales are rich with motif and magic, providing so much inspiration for food ideas and favours. With so many stories to draw from, children are able to identify their favourites and enjoy the special wonder of entering into fairyland for a short time.

WHAT WAS ON THE MENU?
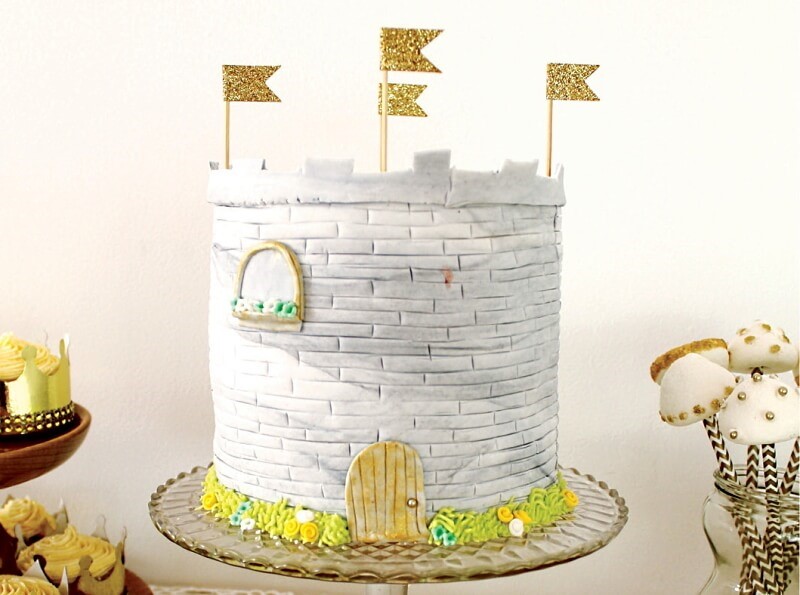
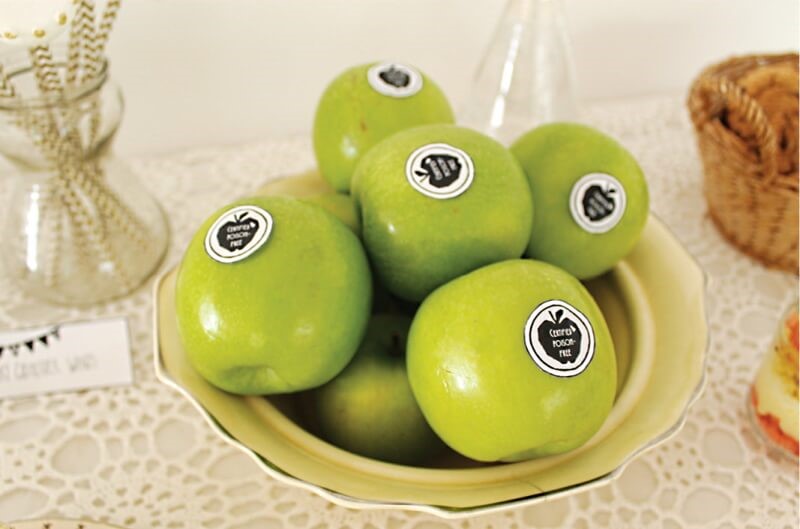
We made our own gingerbread people, Princess and the Pea puddings (trifle in a jar), royal cupcakes, Cinderella's pumpkins and mice, Fairy Godmother wands and an amazing chocolate castle tower cake. We bought fruit strings (which we then braided into Rapunzel plaits), apples and Tiny Teddy cookies.

PRINCESS AND THE PEA PUDDINGS
These layered puddings are a fun way to reference a very sweet fairytale. They can be customised to suit any colour scheme or taste palate. Fill small jars with layers of cake, custard, cream, yoghurt, fruit, jelly, cookie crumbs or any other sweet treats. With the addition of a pea-shaped sweet between two of the layers, and a silver spoon tied to your jar, you have a dessert fit for young royalty.

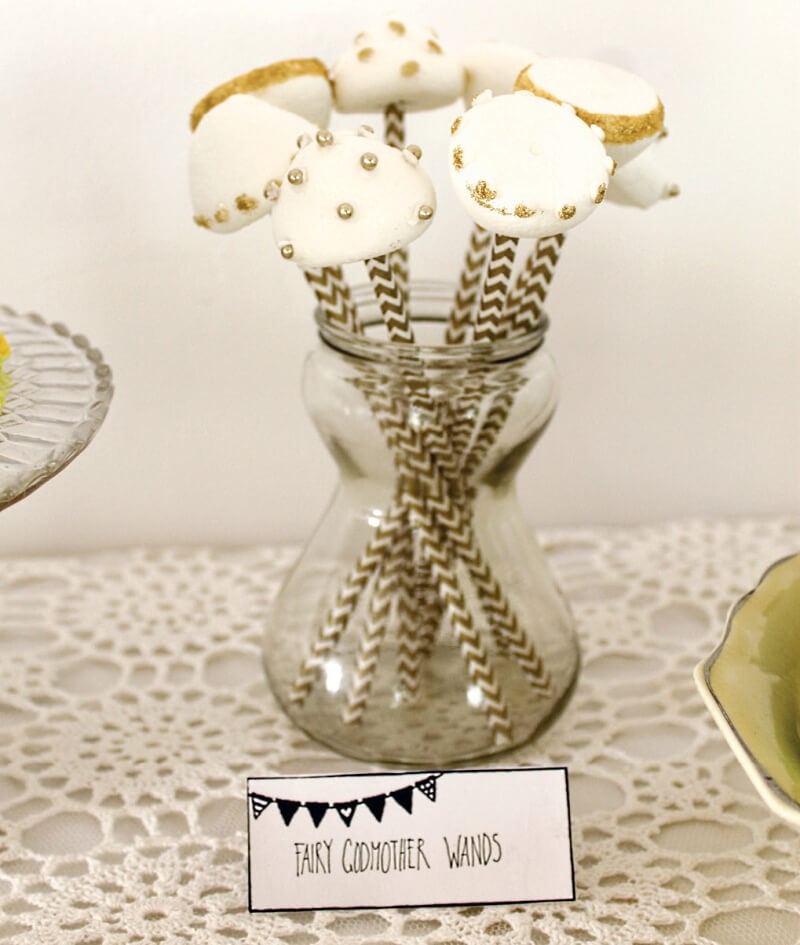
FAIRY GODMOTHER WANDS
Children will be entranced by these magical fairy wands, which can be whipped up at the last minute. Simply attach a large marshmallow to a paper straw then gently dip the marshmallow in some icing followed by some sprinkles. These look good displayed in a tall vase or jar.
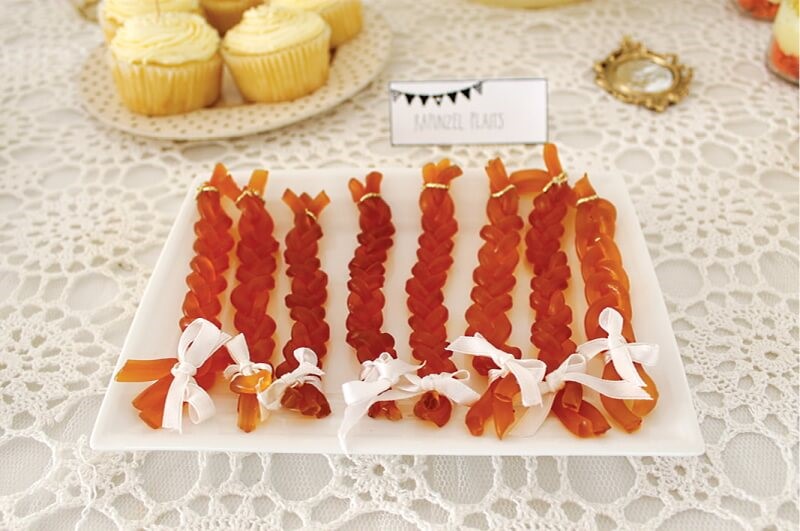
RAPUNZEL PLAITS
Simple and sweet, these plaits can be created using fruit-string, string cheese or liquorice straps. Just plait three strips together and tie each end with pretty ribbons. If you have the baking know-how, you could even make a long plait loaf from bread dough. Glaze the loaf in your desired colour and finish with a bow using ribbon that matches your colour scheme.


HOW DID YOU DECORATE?
We decorated the table with a vintage crocheted tablecloth, and some tulle to give it a soft, dreamy feel. A handmade polka dot garland was used to balance the gold letter bunting that adorned the wall above the treats. Most fairy tales have several visual motifs that you could reference throughout your decorating, for example
● Recreate the magical ‘mirror, mirror, on the wall’ with a gilded mirror (if you’re lucky enough to have one handy – or you might even find one at a second-hand shop). Make miniature mirrors to display on the treat table by sliding pieces of silver card into picture frames.
● Serve similar food in three bowls of diminishing size, labelling these with ‘Papa Bear’, ‘Mama Bear’ and ‘Baby Bear’.
● Create a gingerbread house to use as a centrepiece, or lead guests to the treat table with a trail of small white pebbles.
● Tuck a trunk of ‘treasure’ into a corner of the room that is filed with crowns and jewellery for your guests to dress up in.
HOW WERE GUESTS ENTERTAINED?
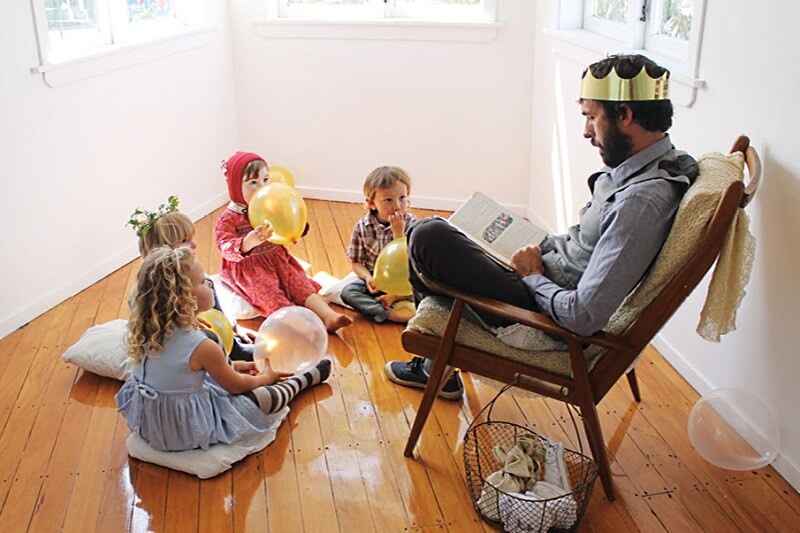
As our guests trickled in, one of our dads (dressed as a king) read the children fairy tales. Afterwards we sent the children around the room to hunt out Jack's golden egg (a hard-boiled egg we had painted gold). A simple game of 'What's the time, Mr Wolf?' followed, before our guests settled down to eat.

QUEENLY CUPCAKES
Glittery cupcake crowns will make a bold statement on the dessert table and also provide cute take-home gifts as the crowns are the perfect size for teddies and dolls.
You will need:
gold card, measuring tape, scissors, a pencil, double-sided tape, glue, gold braid or trim and a paper cupcake case for sizing.
1. Take your paper cupcake case and use it to measure the circumference. You will need your crown template to be slightly longer than this measurement so that you can attach the ends together.
2. Make your initial template by marking the length of your crown on card and hand-sketching the design you would like your crown to take. Cut out this template and use it to create as many crowns as you need.
3. Glue strips of gold braid or trim along the base of your crowns and allow this to dry.
4. Place a small piece of double-sided tape on one end of your crown, attach it to the other end and you are done! You may want to make your crowns ever so slightly smaller than the cupcake itself, to ensure they stay on when your guests add these treats to their plate.

I adored the castle tower cake that my friend Alice Joiner, from Babycakes in Rawene, created. It instantly gave a touch of magic and whimsy to the table spread. We also loved creating the quirky take-home favours – Jack’s magic beans and fairy tale softies.
JACK'S MAGIC BEANS
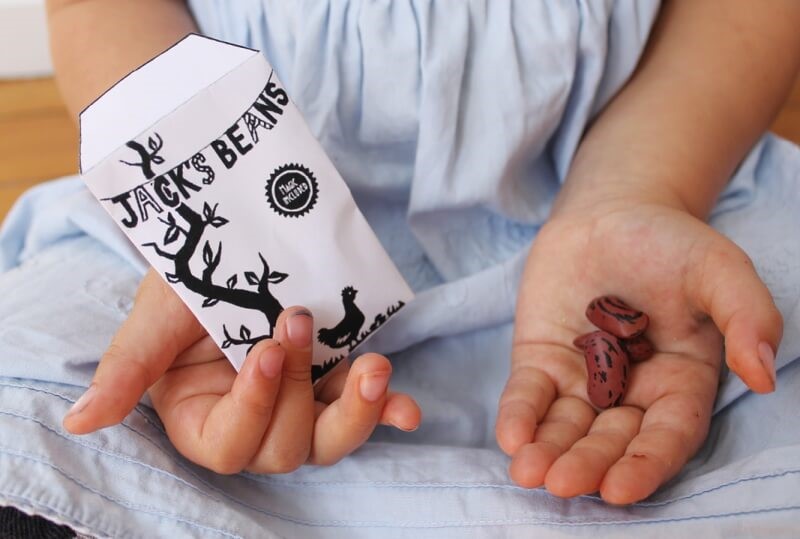
Send your guests home with one of Jack’s mini beanstalks to watch grow. Grab some small flowerpots, found in discount stores or gardening centres, and paint them in fun colours. Add a little potting mix and bean seeds and you have the perfect memento. Alternatively, provide guests with their own bean seeds to plant at home, packaging them in the themed envelopes.

FAIRYTALE CREATURE SOFTIES
These may take a little longer to create, but they are well worth the effort.
You will need:
Plain white cotton fabric, backing fabric in your choice of colours/ patterns, a thin-nibbed black permanent marker, pencil, eraser, stuffing, scissors, needle and thread (or sewing machine).
1. Begin by ironing your fabric and giving it time to cool down before you apply your drawings.
2. Choose some images that suit your theme and then practise your designs. You can be as creative or as simplistic as you like, either way these look effective.
3. Lightly pencil-sketch your designs onto the fabric, ensuring that you leave a wide border around your image.
4. Carefully apply pen marks to your drawing. Some pens may bleed a little so it pays to practise on a scrap of fabric first to work out how much pressure you should apply. When you are happy with your design, cut away the excess fabric, leaving a wide margin for both the hem and the border around your image.
5. Gently erase your pencil marks once the pen marks have fully dried.
6. Cut out backing fabric to match the size of your illustrated fabric. This can be easily done by placing your pre-cut illustrated fabric against the backing, but ensure that you place the fabric right side to right side. When all the pieces are cut, pin them together (still right side to right side).
7. Leaving a 1.2cm seam allowance, stitch your pieces together, leaving a 5cm gap at the base.
8. Make a series of 6mm cuts into the corners or rounded edges, ensuring that you keep well away from the stitching. This will help to reduce puckering in your softie.
9. Turn your softie right way out, and give it a final press, paying special attention to the seams.
10. Stuff your softie as tightly as possible before turning in the seams of the opening and hand-stitching it closed.
PHOTOGRAPHY & STYLING: STELLA RUTHERFORD,VERYDARKHORSE.BLOGSPOT.COM

