How to: make your video clips worth watching

Michelle Sokolich makes family movies professionally. Here she helps us amateurs turn all those video clips on our phones into cinematic gold.
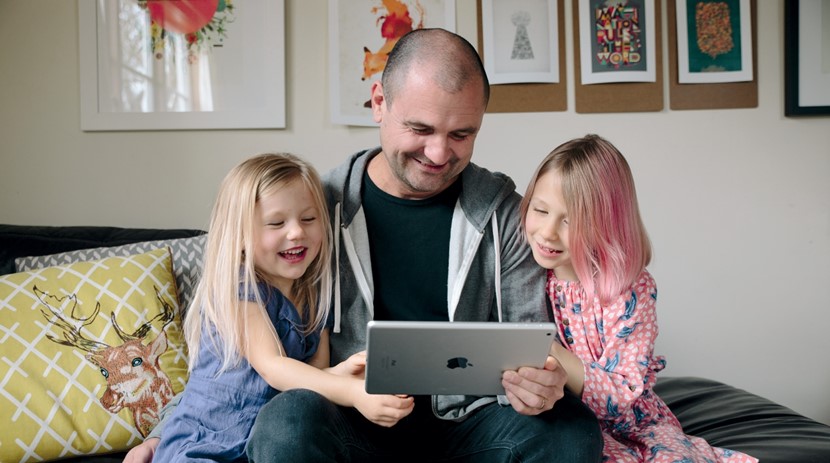
Do you think our grandkids will look back on this time in history as the most documented time ever? Our smart phones are never more than an arm's length away and we are constantly filming our ridiculously cute kids like it’s going out of fashion. Those wobbly first steps? QUICK, GRAB MY PHONE! Stomping around in your high heels? Smile, honey, while Mummy records this for Facebook! First time on the potty? 21st gold!!
So what are you doing with all of these cute video clips? Do you have them spread everywhere through your computer, your phone and Facebook? If you’ve ever felt a bit overwhelmed by how you’re going to keep these so that you’ll actually enjoy looking back over them – fear no more. I’m going to share my super simple process for making annual family movies.
In the movie business
If you’ve never edited before, check out my iMovie tutorial at lovethelittlethings.com. In just 20 minutes, you’ll be a pro – I promise! If you don’t have a Mac, then try Windows Movie Maker – there are loads of free tutorials on YouTube.
Step 1 Compile all your footage into folders for each year. You can even sort it into months if you want, but I like to keep a folder on my desktop labelled with the current year and pop my footage into it every time I back up my phone. It’s so much easier to think about starting a movie project if you know your footage is all there waiting for you.
Step 2 Import all of the year's footage into your edit software. Next, pop it all on the timeline in chronological order. If you’re anything like me, you will end up with about an hour-long movie at this stage!
Step 3 This is where I add a music track. If you’re only keeping this for home viewing, then knock yourself out and use your favourite Coldplay track. But if you want to share your video on Facebook, then make sure you use production music. Just google ‘free or cheap production music’ and find something you like. I love using the Melody Loops site. The music will really set the whole tone of the project, so try a few different tracks to find one you like.
Step 4 Now watch it through and cull, cull, cull. You will find this hard, I know I did at first. Ask yourself "Do I really need four minutes of my baby rolling around on the bed giggling?". Sure it’s cute, but try and grab just the absolute best bits. Then you’ll end up with a lovely movie that doesn’t bore all your friends and family to tears!
Step 5 Come back with fresh eyes the next day and cull some more. Seriously. I aim for a three or four minute movie for each year.
Step 6 At this point you can shuffle the order around if you want to. You’ll find some shots match the music better in different places, and others might work really well for either the beginning or end of the movie. Have a shot of a child waving goodbye? It doesn’t take Steven Spielberg to tell you the end is the logical place for this!
Step 7 Go through and tighten the shots as much as you can. Get rid of the boring four seconds before your child lovingly hugs their sibling, and the six seconds directly afterwards, where said sibling tries to break free and starts crying. Keep the clips tight and moving reasonably fast!
Step 8 Now it’s time to export your finished movie. I keep a copy on my computer, and I also upload them all to our family Vimeo channel. Vimeo accounts can be kept private, unlike YouTube. It’s great knowing they’re all backed up there, and I swear my kids love sitting and watching all our family videos as much as they love a Peppa Pig marathon on YouTube!
 Michelle Sokolich is a filmmaker and photographer who truly believes every moment should be treasured. Read more of her tips at lovethelittlethings.com.

AS FEATURED IN ISSUE 35 OF OHbaby! MAGAZINE. CHECK OUT OTHER ARTICLES IN THIS ISSUE BELOW
Float away the stresses and strains of pregnancy
- Swimming while pregnant can be sweet relief,...
Hip dysplasia explained
- Paediatrician Anne Tait explains what...
Hip hip hooray: hip-friendly products for baby
- Keeping babies safe is at the forefront of...
Osteopathy: hands-on help for your newborn
- In our last issue, osteopath Sarah-Jane...
Tips for treating baby's eczema
- Leading Sydney paediatric dermatologist Dr...
PRINTABLE: Fun milestone cards
- Celebrate your baby’s development with our...
Living with food allergies: one mother’s story
- When everyday foods pose life-threatening...
Is it time up for time-out?
- What do you do when faced with unacceptable...
Switch off your autopilot and live in the moment
- The parenting journey walks a fine line...
Capturing cuteness: spring looks for kids
- Capture everyday cuteness in these delightful...
Time to top up? The benefits of toddler milk
- With an expanding range of toddler milks...
10 high-performing foods
- OHbaby! nutritionist Anna Hansen explains the...
How to: make your video clips worth watching
- Michelle Sokolich makes family movies...
How to connect with your parenting village
- Raising kids is hard work and we weren’t...


