Tips for capturing magical shots yourself at home
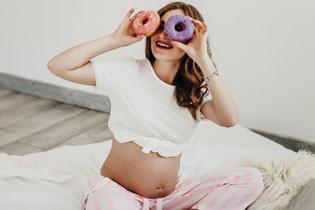
It’s easy to rattle off a bunch of clichés when describing maternity photography, but not every mum feels a pregnancy 'glow’, or that pregnancy is a magical time. Personally, I had a love/hate relationship with the way my body changed and how I felt! Whatever your relationship with pregnancy is though, we can all agree that what our body does during that nine months is pretty incredible.
I love capturing maternity images that celebrate and acknowledge that range of feelings – anticipation, nervousness and excitement. Maternity shoots have had a bad rap over the years (if you haven't Googled 'awkward maternity images', now is a good time). But really they can be so beautiful.
Not everyone has the budget for hiring a photographer to document their bump, so here are some of my best tips on how you can DIY your own maternity images. Great photoshoots don’t happen by accident, so use the guide below to create a game plan for before and during your shoot.
GET INSPIRED
If you're not sure where to start, try Instagram or Pinterest and save some examples that resonate with you. Is there a common look or theme that runs through these images? Once you're clear on this, it will inform some of your next decisions – what to wear, the location and the time of day.
WHAT TO WEAR
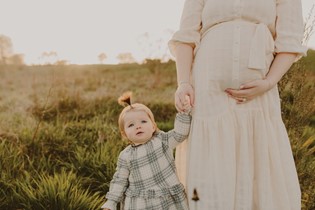
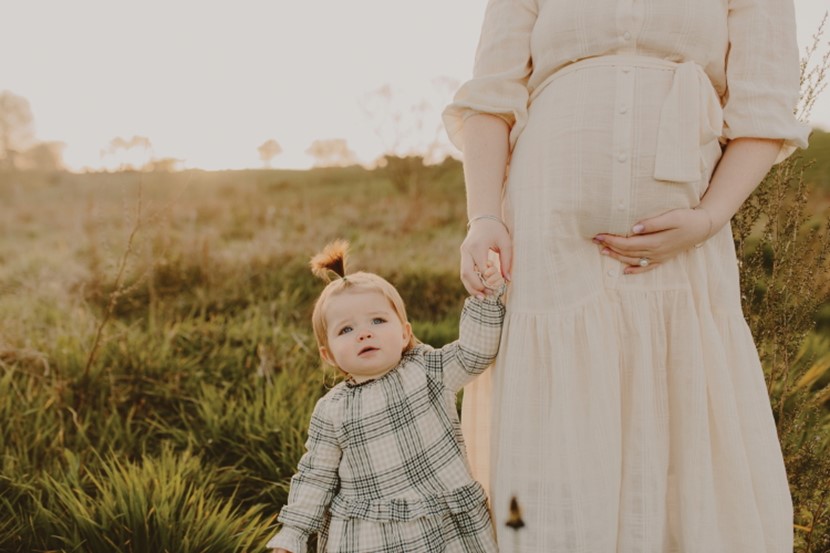
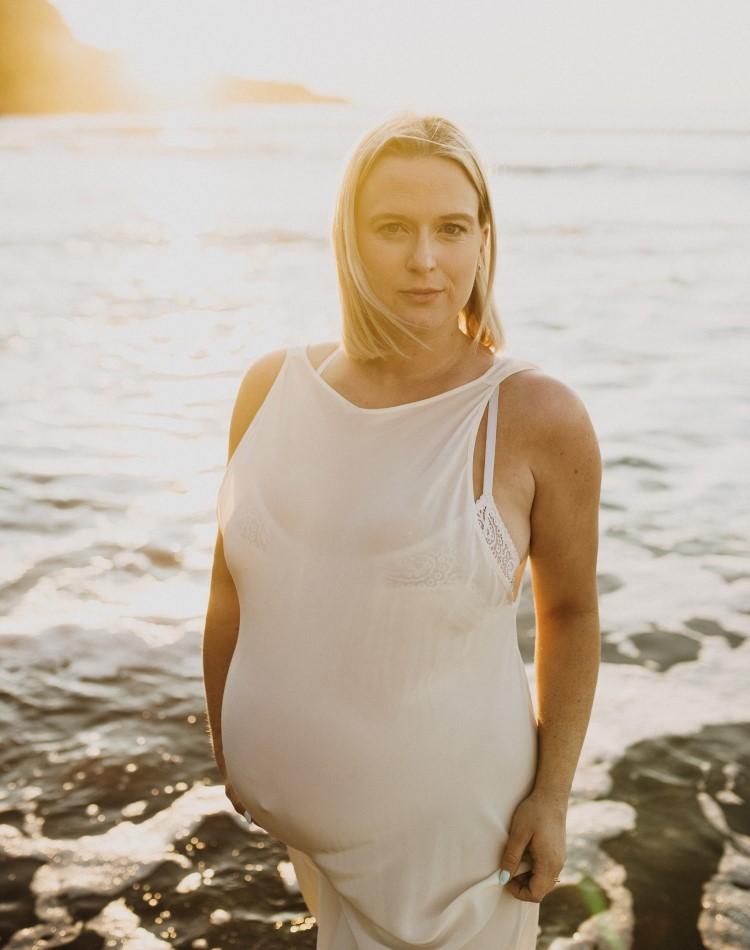
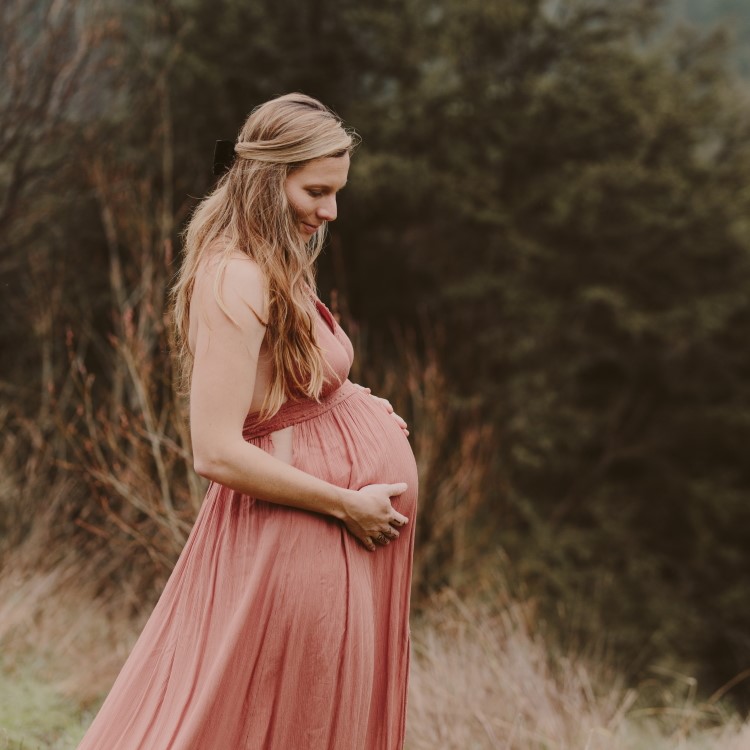
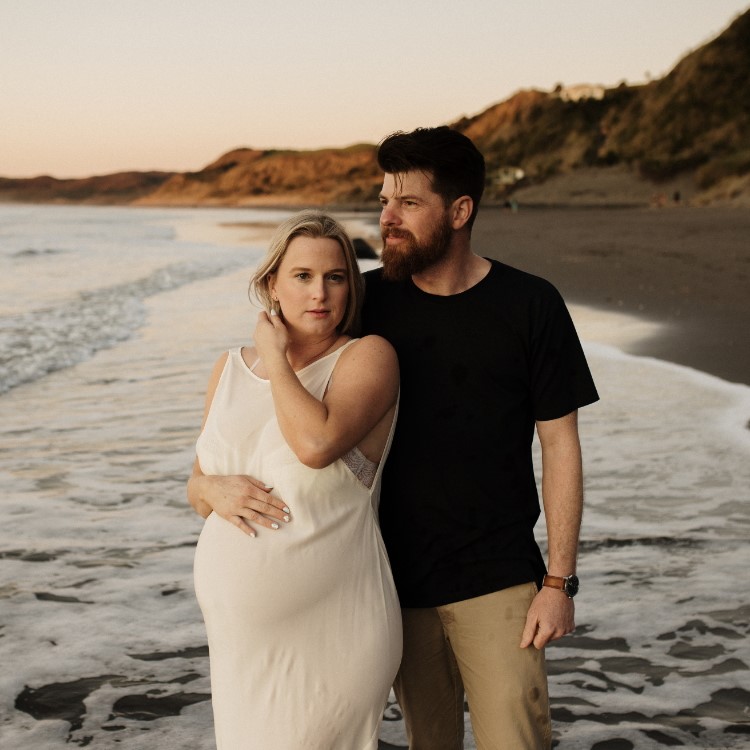
My golden rule is to choose something you feel good in. This really shows in your body language and confidence in front of the camera. I tell my clients to avoid heavy patterns and to wear light-coloured and/or tight clothing (or clothing that can be held tight), to show off the bump.
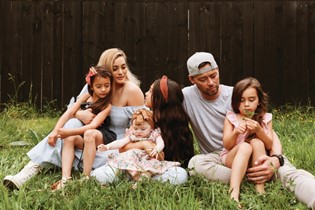
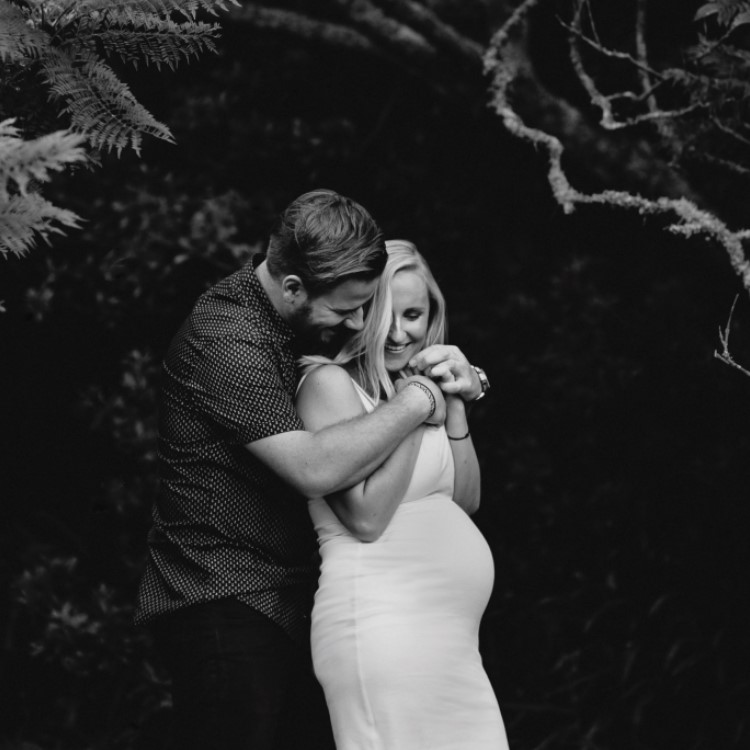
When I was pregnant with my daughter I wore a dark dress for a shoot in a dark forest and you couldn’t really tell I was pregnant! If there are other family members involved in the shoot, lay out the clothing options next to each other so you can see how the colours and textures work together.
LIGHT AND LOCATION
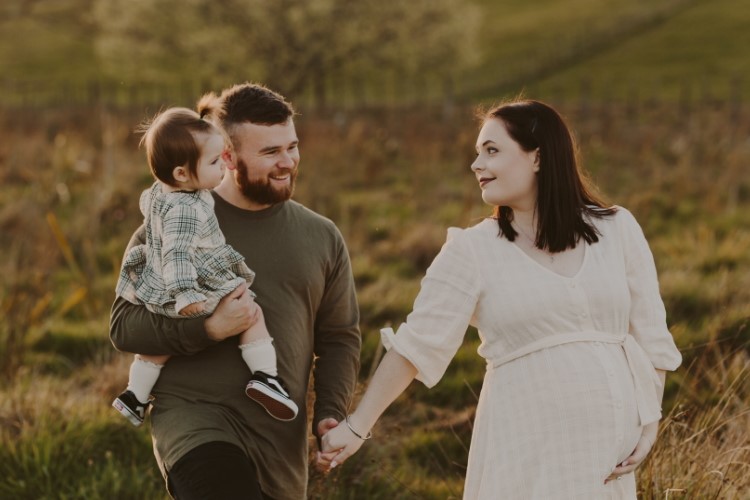
When deciding on the time of day and exactly where to take the photos, the most important thing to consider is the light. My favourite time of the day to photograph is the hour after the sun rises or the hour before the sun sets. This is the most flattering style of light; it will give you images with a beautiful golden glow. Of course, this time of day isn't always a great option, especially if little people are involved!
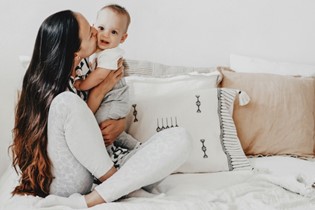
Even if you're shooting inside, the time of day will change the way your photos look. For example, at home, our master bedroom gets lots of light for most of the day, so for light and airy images I'd photograph there. The light in early morning or later in the day will create moodier images. I've also used the curtains in a room to control the light, keeping them open for light and bright photos and more closed for moody, low-light shots.
If you're shooting indoors, turn off the lights and use natural daylight to light your images. Find a window or a door, stand next to it and face the light source for beautiful and moody side-lit shots. If you have sheer curtains, use them to create a beautiful backdrop and soft, even light.
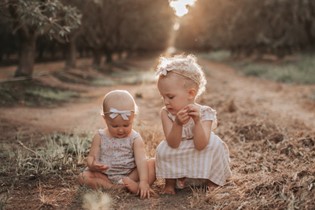
If you're photographing outside on a bright, sunny day, find some shade to stand in while still being as close as you can to the bright sunlight. Alternatively, I love to use back light, which is when the light source comes from behind my subject's head. This is easiest to do outside at the beginning or end of the day.
EQUIPMENT
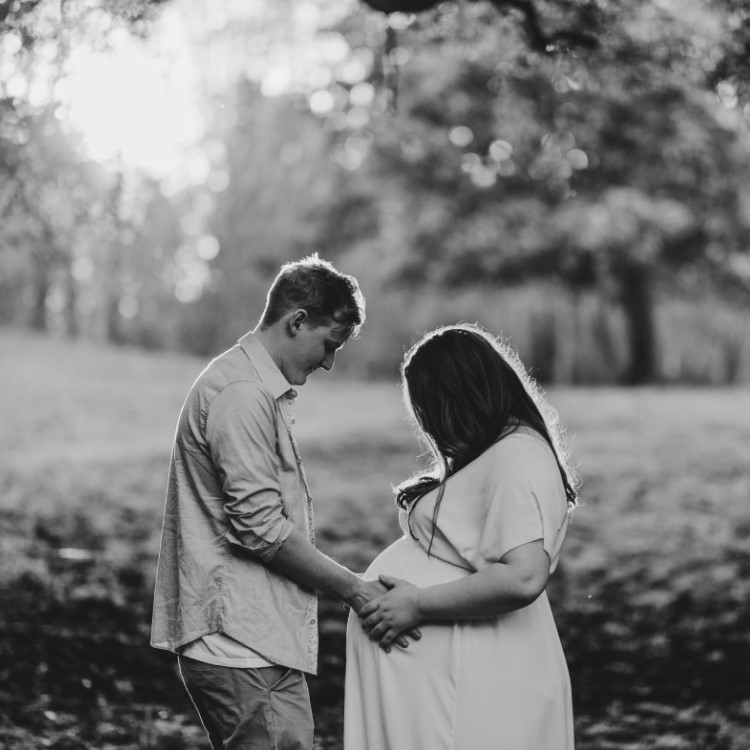
Lastly, how are you going to take the photographs? Check if your Insta-hubby is available, enlist a friend or even a little person. If you prefer to DIY by creating self-portraits, grab a tripod or a chair to prop up your camera or phone. The self- timer will be your friend here – use the ten second option to give yourself time to get into the shot. I also recommend popping your camera on selfie mode for this, so you can see what you're doing and frame up the shot! If possible, try to photograph from a higher angle as this can be really flattering.
STRIKE A POSE
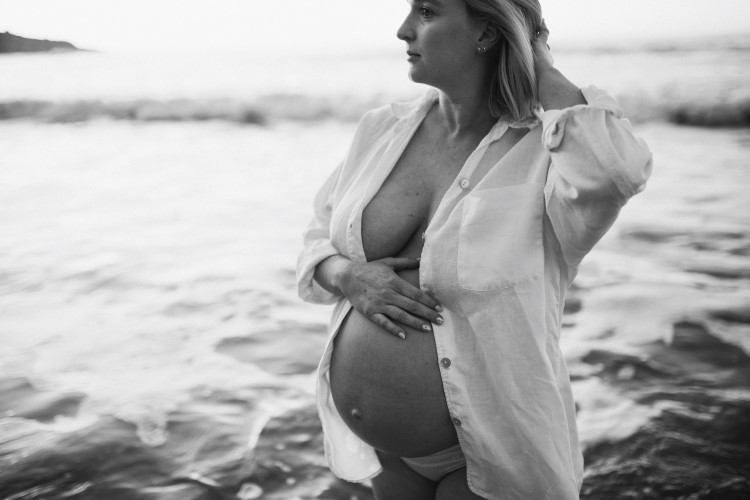
If you're standing, bend the leg closest to the camera to create a lovely S-curve shape through your body. Holding one arm near your hip will turn your arm into a triangle which is also a flattering shape for pregnant mamas. If you're sitting or standing, make sure to sit as straight as you can to enhance your bump. Roll your shoulders back and down, and put your chin up!
CREATING BEAUTIFUL MOMENTS
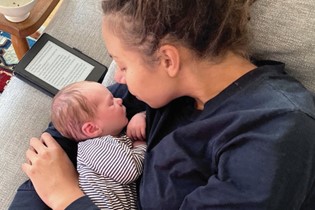
If you want soft, contemplative images, breathe in and hold it. If you’d like your images to be less-posed, do something you might do in everyday life, for example read a book or have a coffee. If it’s your first baby, you'll look back on those uninterrupted moments when hot drinks didn’t go cold before you got to them! If you have other kids or a partner to add to the photo, get them on board and make it fun – play, tickle, cuddle etc. We need more mums in photos, so make a plan and get in front of the lens!
Ruth Gilmour is a professional photographer and mum of two. To learn more about finding the right light and taking great shots on your smartphone visit @ruthgilmourphotographer and sign up for all the tips via the link in her bio. ruthgilmourphotographer.co.nz

AS FEATURED IN ISSUE 52 OF OHbaby! MAGAZINE. CHECK OUT OTHER ARTICLES IN THIS ISSUE BELOW
